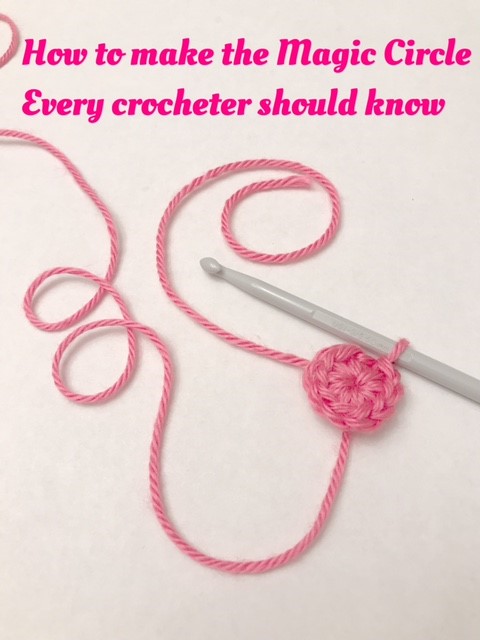
How to Make the Magic Circle

I’m so glad you’re here to learn how to make a magic circle!!! Because this is a very simple trick you will be ever thankful to yourself for learning.
You’ll use magic circles for starting hats, amigurumi, circles and so many patterns. I myself use this method allll the time. They close a circle tightly and flawlessly, making your piece look professional and lovely.
Also, did you know this is a simple way to tie on as well? It is! Two tricks in one.
I have step-by-step instructions and clear pictures here for you. Let’s get started learning this easy, super useful method!
Need to pin for later? Here’s the best image… Though even if you don’t I would still love for you to share! Maybe someone else could use this information as well.

Let’s make a magic circle!
Step 1. Lay the working yarn over your left hand.

Step 2. Bring the working yarn around the front of your hand and cross the tail to make an X.

Step 3. Turn your hand over and look at the yarn on the back.

Step 4. Now push the working yarn on the left, underneath the strand on the right.

Step 5. Insert your hook into the space created. If you are just tying on, remove your hand and tighten the circle around your hook by pulling the tail and working yarn at the same time! That’s it!
To make a magic circle continue with the next steps.

Step 6. Remove your hand and observe the circle. It isn’t necessary to lay it down, but maybe a good idea for you to see what it should look like.

Step 7. Pick up your circle, securing the top with your finger. Yarn Over.

Step 8. Pull the yarn through the space.

Step 9. Yarn over and chain 1.

Step 10. Now we’re going to make a single crochet. Insert your hook into the circle by going underneath both strands of yarn.

Step 11. Yarn over and pull the working yarn through the circle.

Step 12. Yarn over, and complete the single crochet.

Step 13. Continue making single crochets around the circle. Make 7 more by repeating steps 10-12. Now your circle should look like the one below.

Step 14. Tighten the circle. Pull the tail and the circle will close. Like magic!

Step 15. Now join to the first stitch with a slip stitch and you have a beautiful circle and have completed the magic circle method! Practice this until it’s second nature. It won’t take long.

Did you like this tutorial?
Please Share and Subscribe so you get special coupons, updates about new and free patterns and more!
Happy Crocheting!


Claudette Chapple
Loved it cant wait to try it out. Thanks
Alicia
My pleasure 💛